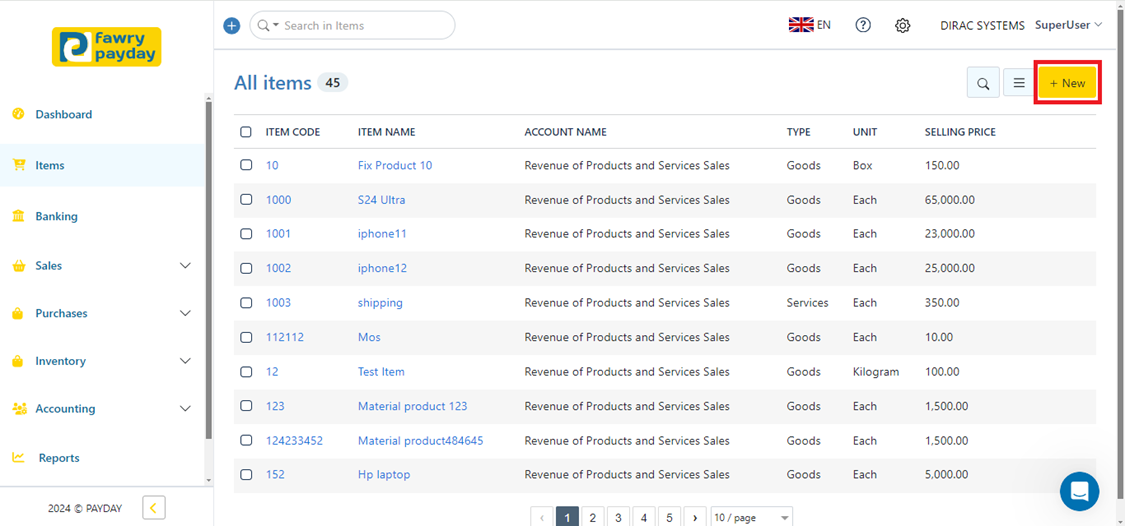
1. Navigate to the main menu and click on "Item."
2. Select "New" to initiate item creation.
3. Fill in the required item details:
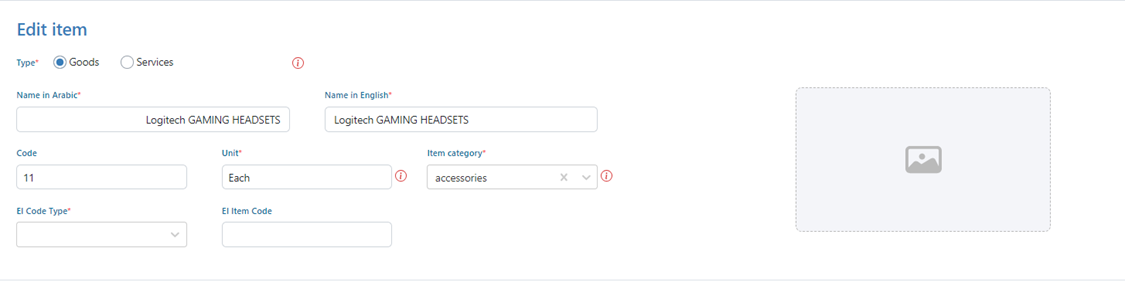
3.1- Type: Specify whether the item is "Goods" (physical) or a "Service."
3.2- Name in [English / Arabic]: Enter the item name in both languages.
3.3- Code: Assign a unique identifier to the item.
3.4- Unit: Select the unit of measure for the item.
3.5- Item Category: Choose the category to which the item belongs (refer to how to create an item category if needed).
3.6- EI Code Type and EI Item Code: Provide codes as defined in the E-Invoice Portal.
3.7 - Item Photo: Import a photo of the item by clicking on the image icon.
4. Sales Information:
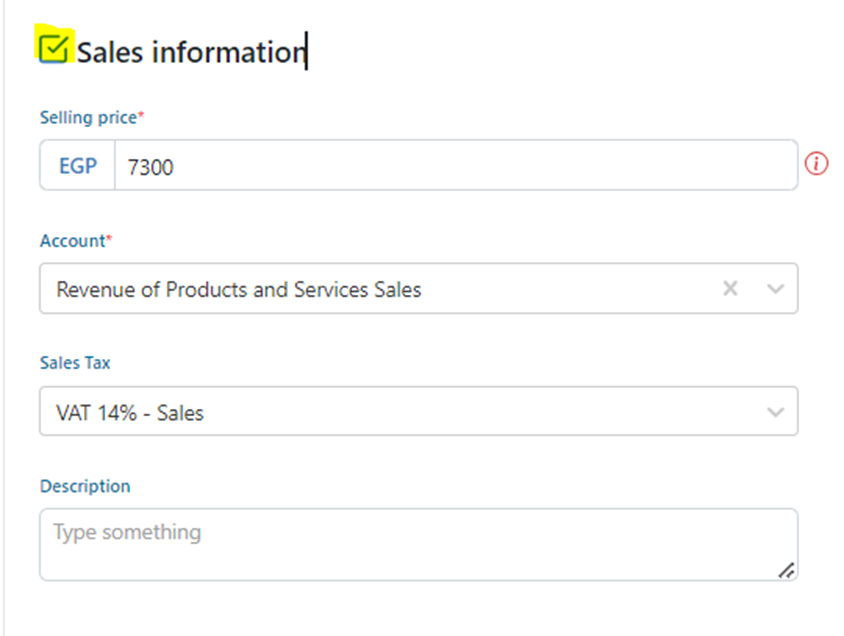
4.1- Selling Price: Set the price at which the item will be sold.
4.2- Account: Select the revenue account for recording sales.
4.3- Sales Tax: Select applicable taxes for item sales.
4.4- Description: Add any additional sales-related notes or information.
5. Purchase Information:
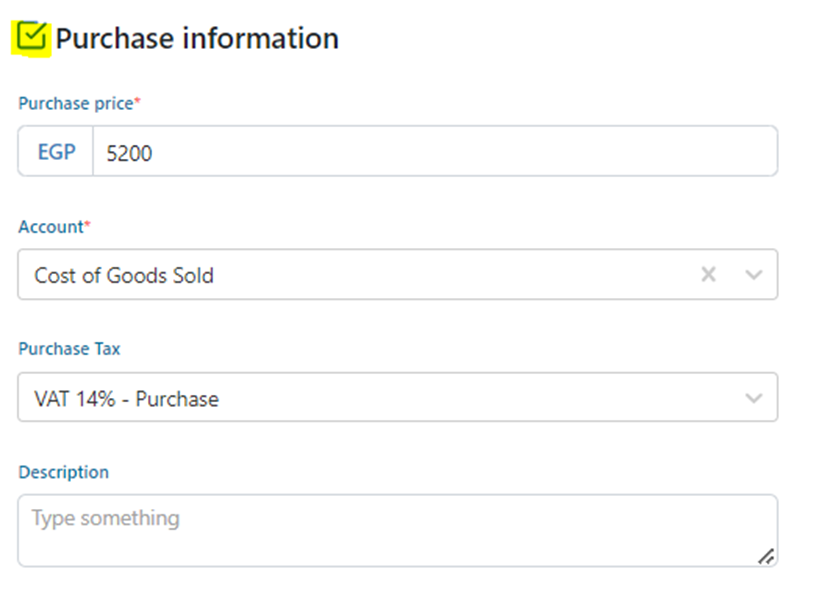
5.1- Purchase Price: Enter the price at which the item is bought.
5.2- Account: Select the account for recording purchase costs.
5.3- Purchase Tax: Select applicable taxes for item purchases.
5.4- Description: Add any additional purchase-related notes or information.
5.5- If the item is purchased, check the designated checkbox (highlighted in the screenshot above).
6. Inventory Information:
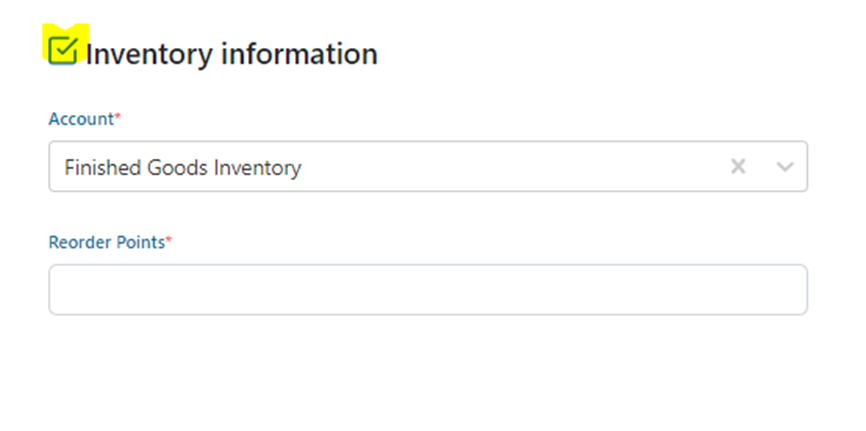
6.1- Account: Specify the account holding the inventory value.
6.2- Reorder Point: Set the inventory level prompting a new purchase order to avoid stockouts or surplus.
6.3- If the item is stored in inventory, check the designated checkbox (highlighted in the screenshot above).
7. Reporting Tag:
Refer to the documentation on how to use reporting tags for further instructions.
8. Click on “Save”
By following these steps, you can efficiently create a new item in the system with all necessary details for sales, purchase, and inventory management.