1- From the Main Menu, Click on Sales and select Collection.
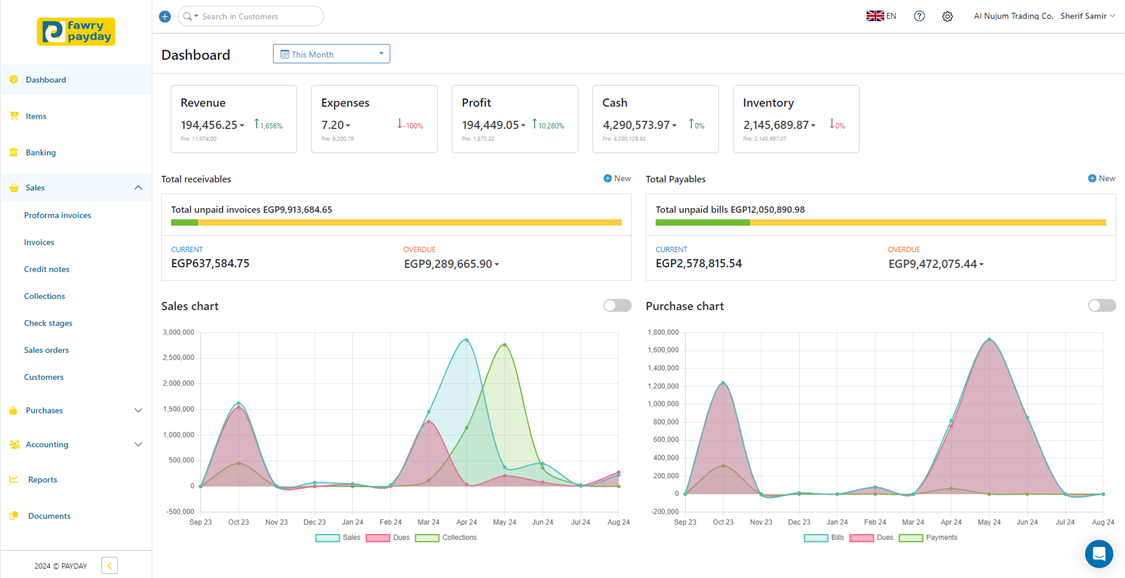
2- To begin creating a new collection, Click on "+New".

3- Fill in the Required Details
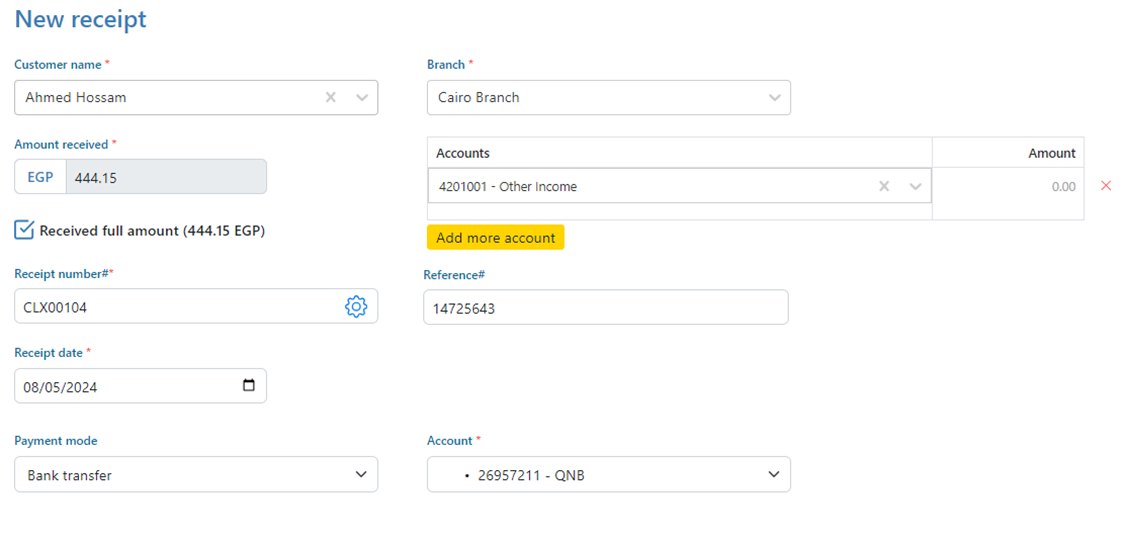
3.1- Customer Name: Select the customer’s name from the added customers—see how to add customers.
3.2- Branch: Choose the branch from which the customer has purchased from the added branches—see how to add branches.
3.3- Amount received: Enter the amount collected from the customer. The system will automatically suggest allocating the payment to invoices from eldest to newest.
3.4- Reference: Enter the invoice reference (e.g., sales invoice number).
3.5- Receipt Date: Select the date on which the payment is collected.
3.6- Receipt Number: This will be an auto-generated sequence number (see how to create or modify transaction series).
3.7- Payment mode: Select the payment mode from the added payment methods—see how to add payment methods.
3.8- Account: Choose the account that will track the collection from the added accounts—see how to add accounts.
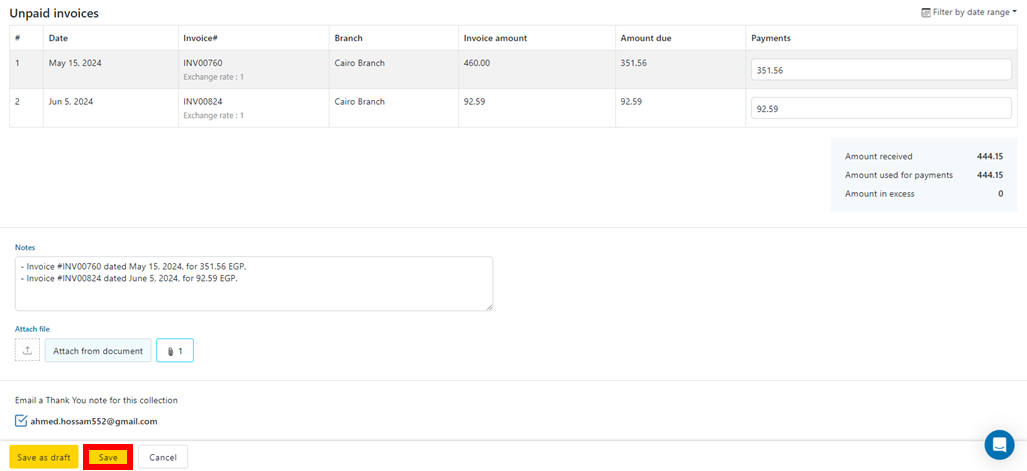
3.9- Unpaid Invoices: This section lists all open invoices for the selected customer.
3.10- Note: Use this field to write any internal notes.
3.11- Attach file: Use this field to attach any relevant documents (e.g., a picture of a check).
4- Save the collection file.