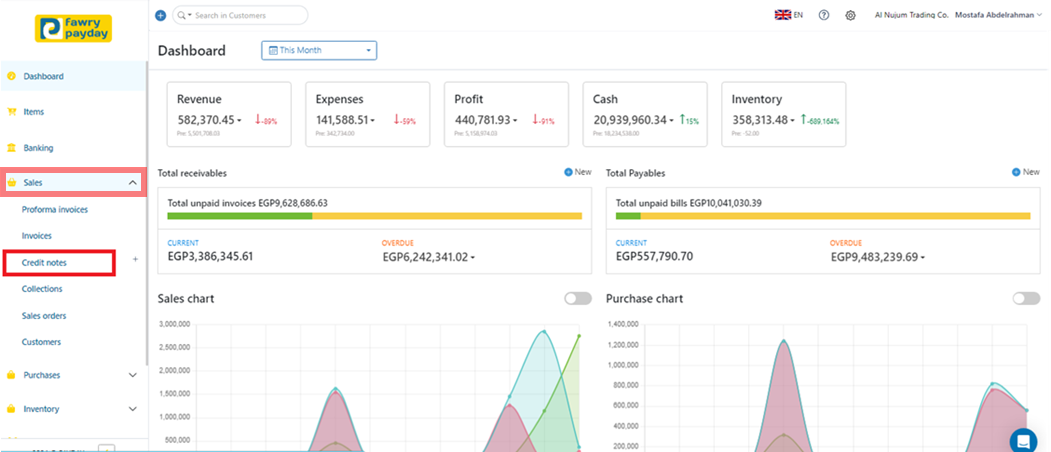
1. Click on Sales and select Credit Notes.
2- To begin creating a New Credit Note, click on "+New".

3- Fill in the Required Details
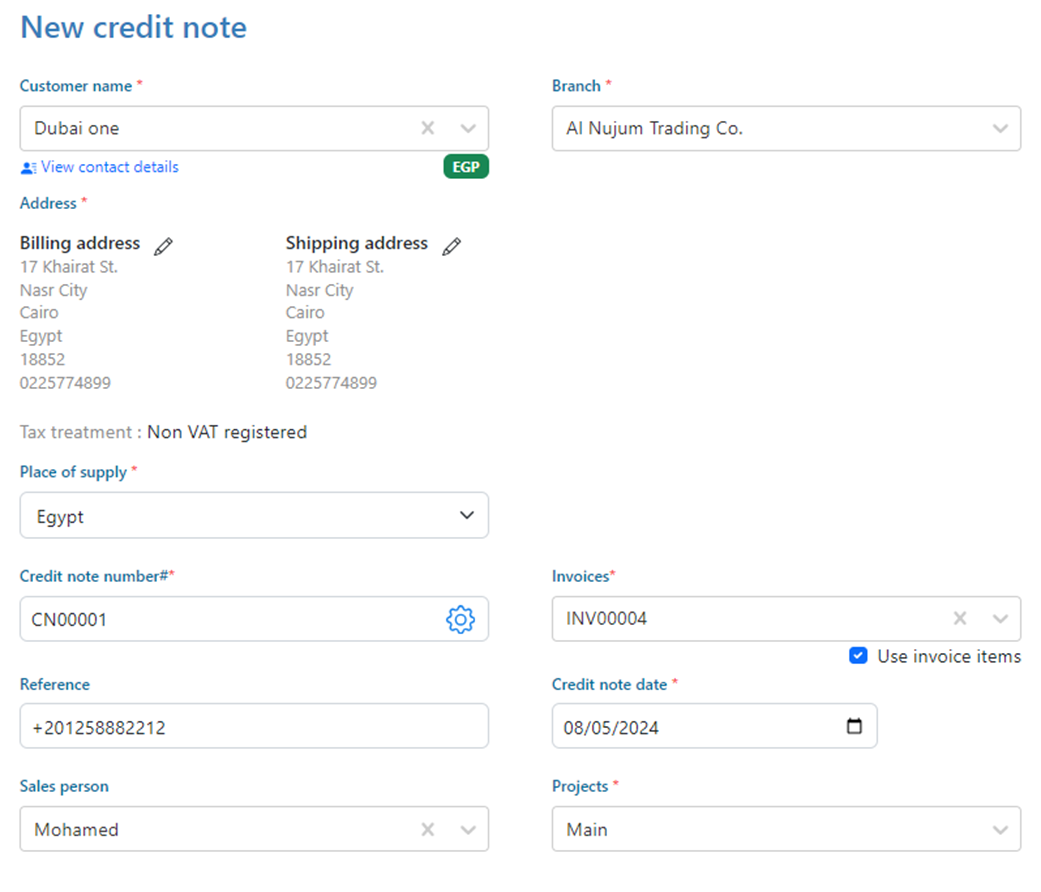
· Customer Name: Select the customer's name.
· Branch: Choose the branch from which the customer purchased.
· Credit Note Number: This is automatically generated as a sequential number.
· Reference: Enter the customer's order reference.
· Invoices: Select the invoice that you want to credit (only displaying the chosen customer’s invoices)
· Use Invoice Item: check this box if you want the item(s) in the invoice to be populated in the items line.
· Credit Note Date: Select the date of the credit note.
· Salesperson: Choose the sales representative who handled the order.
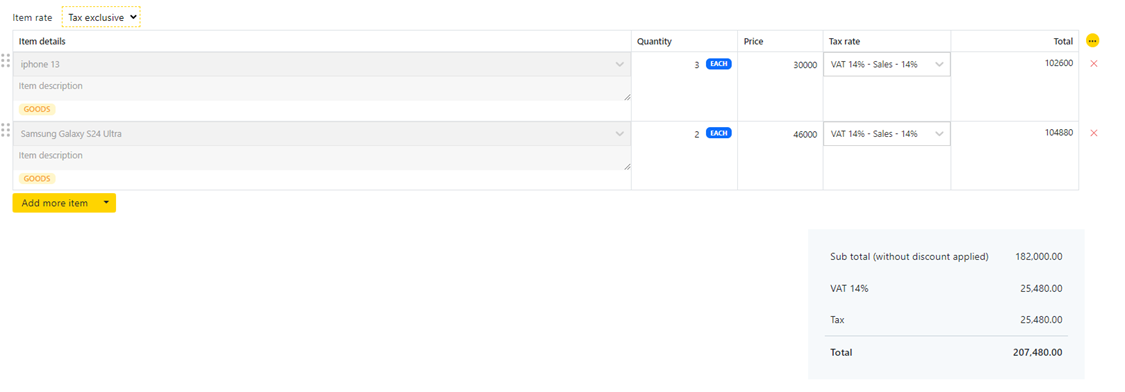
· Item Rate: Indicate whether item prices include tax (“tax inclusive”) or do not include tax (“tax exclusive”).
· Item Details: Select the item(s), specify quantities, adjust prices if necessary, and select tax.
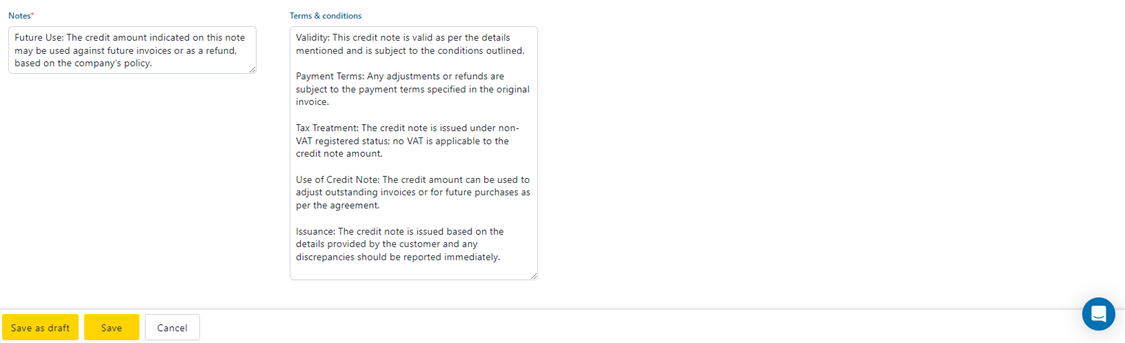
· Notes: Add any relevant notes pertaining to the credit note
· Terms and Conditions: Include any terms and conditions.
4- Save the Credit Note.
You can either save the credit note as a draft by clicking "Save as Draft" or save it by clicking "Save".