1- From the Main Menu, click on “Sales” and select “Proforma Invoices”.
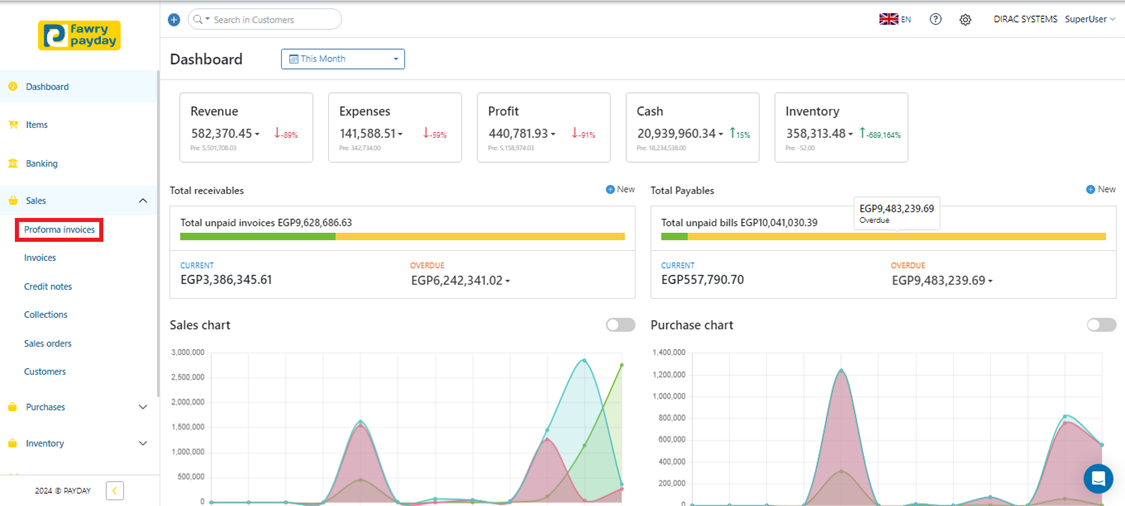
2- To begin Creating a New Proforma Invoice, Click on "+New".

3- Fill in the Required Details
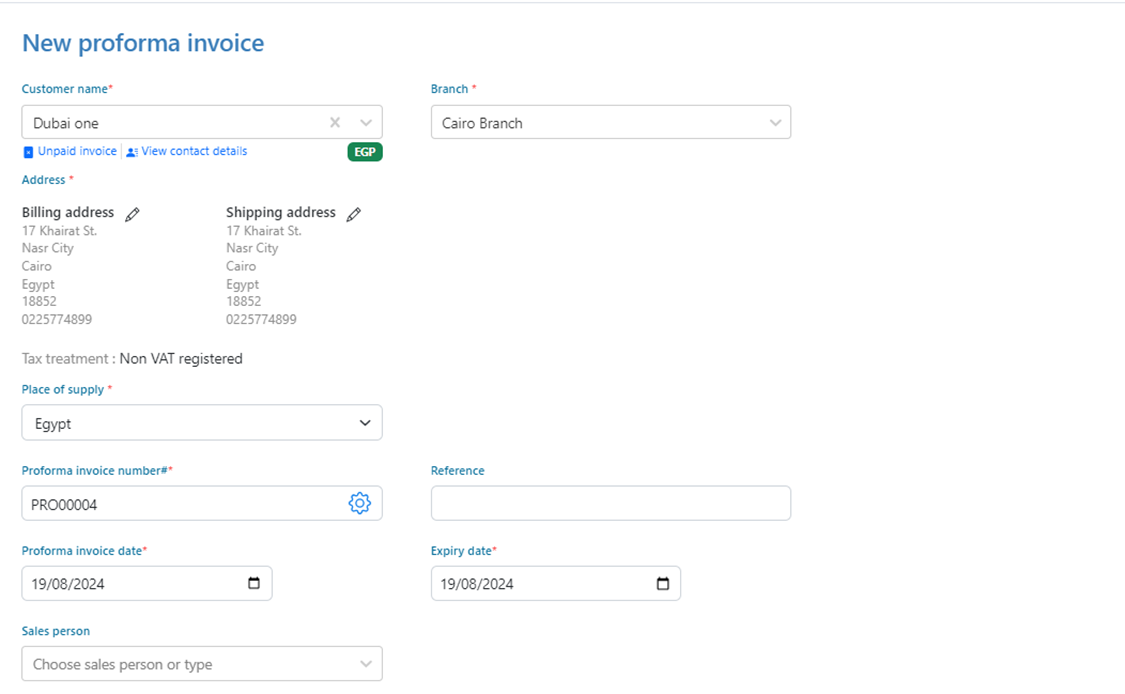
3.1- Customer Name: Select the customer's name.
3.2- Branch: Choose the branch from which the customer is expected to purchase.
3.3- Proforma Invoice Number: This is automatically generated as a sequential number.
3.4- Reference: Enter the customer's RFQ reference.
3.5- Proforma Invoice Date: Select the date of the proforma invoice.
3.6- Expiry Date: Select the expiry date of the proforma invoice.
3.7- Sales Person: Choose the sales representative.
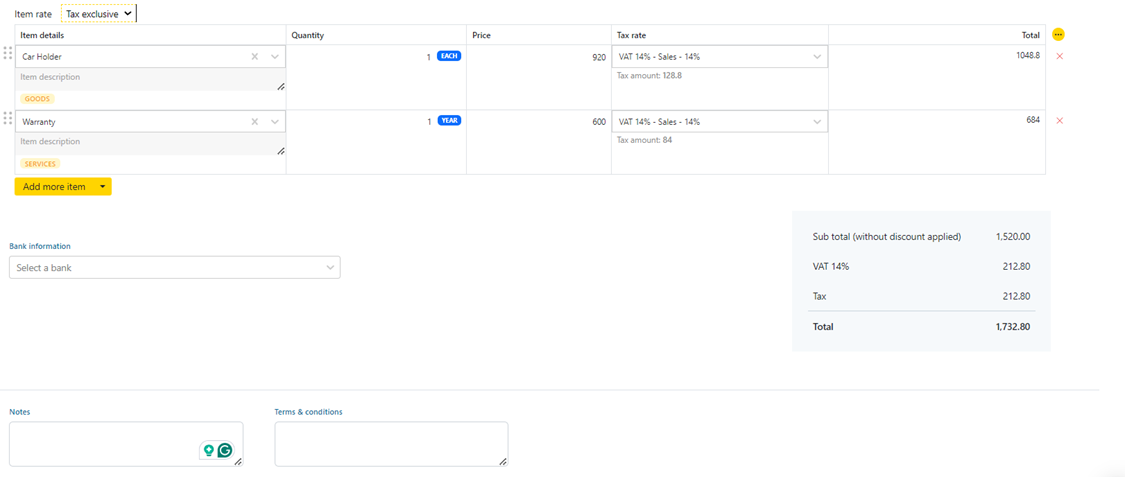
3.8- Item Rate: Indicate whether item prices include tax (“tax inclusive”) or do not include tax (“tax exclusive”).
3.9- Item Details: Select the item(s), specify quantities, adjust prices if necessary, and select tax.
3.10- Notes: Add any relevant notes pertaining to the invoice.
3.11- Terms and Conditions: Include any terms and conditions.
3.12- Attach File: Upload any related attachments.
3.13- Bank Information: Choose the account that will receive the funds.
4- Save the Proforma Invoice
You can either save the Proforma Invoice as a draft by clicking "Save as Draft" or save it by clicking "Save."