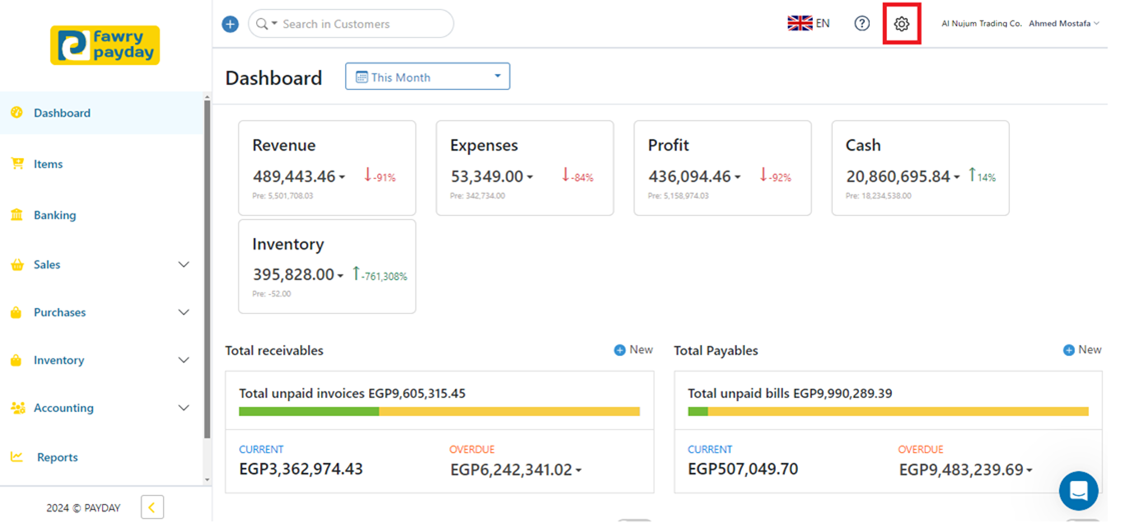
1- Navigate to the toolbar menu and click on the gear icon (Settings).
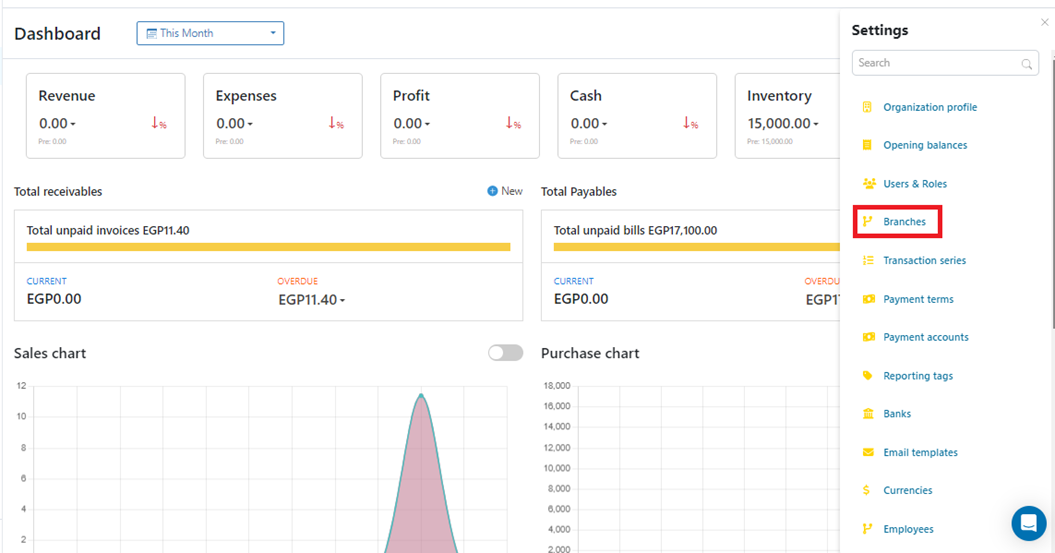
2- Scroll down to find “Branches” and click on it.
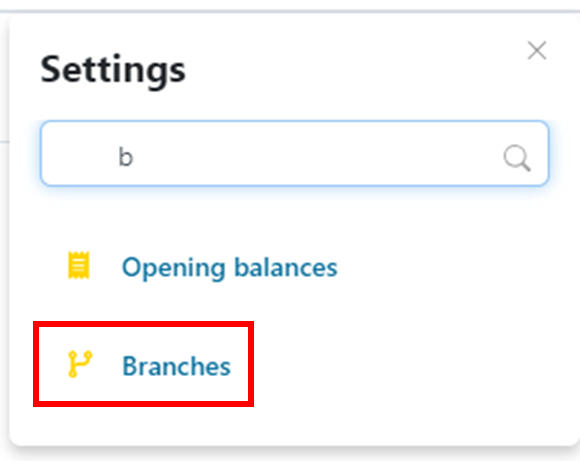
3- Alternatively, you can search for “Branches” using the search box then click on it.
4- Click on “New” to begin adding a new branch.

5- Fill in the required Details
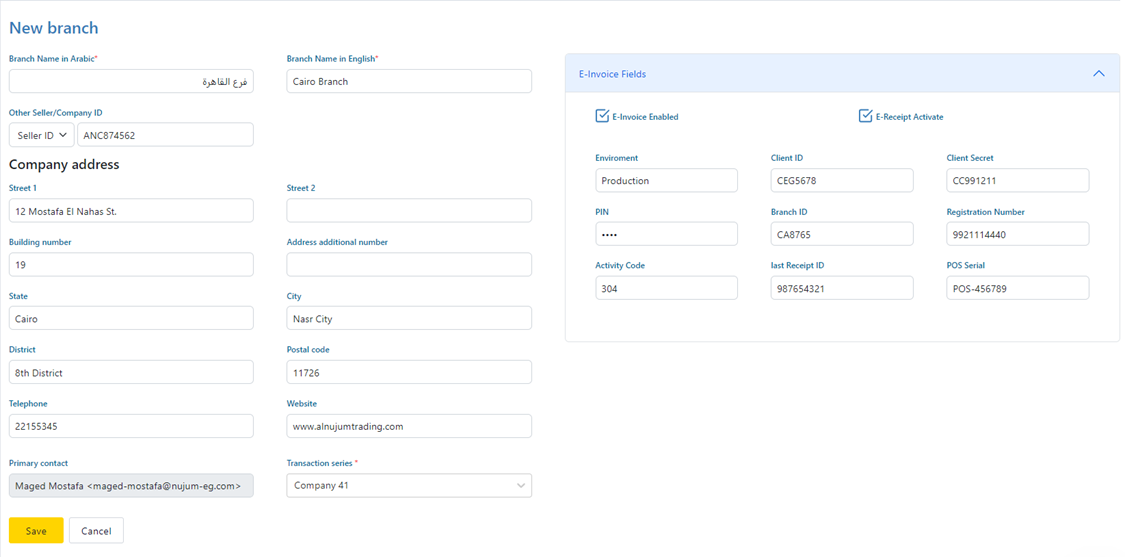
5.1- Name: Specify the branch name in both Arabic and English.
5.2- Seller / Company ID: Enter the Seller/Company ID for the branch.
5.3- Company Address: Fill in the branch’s address details.
5.4- Transaction Series: Specify the transaction series number the branch will use (refer to "how to create a transaction series").
5.5- E-Invoice Fields: If E-invoice and receipts are activated, add the required data and credentials.