1. From the main menu, click on Inventory
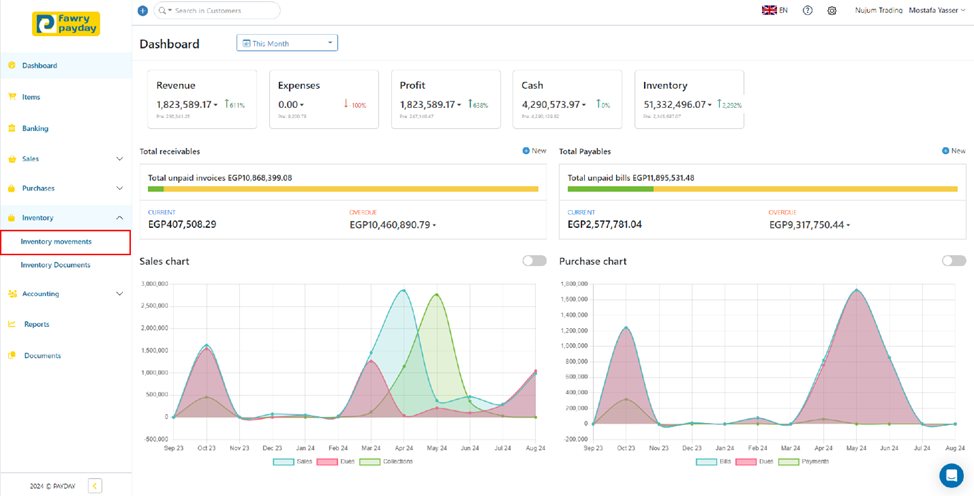
2. Select Inventory Movements.
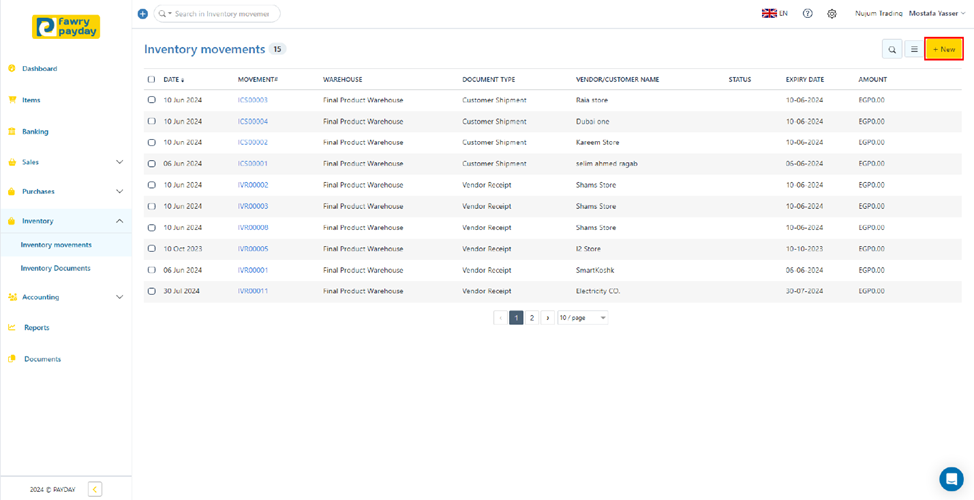
3. To begin adding a new inventory movement, click on "+ New".
4. Fill in the Required Details:
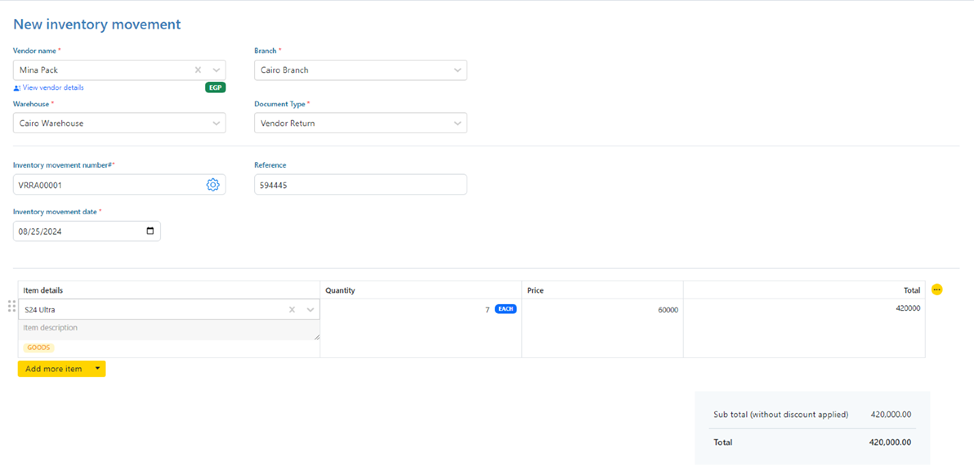
Vendor Name: Select the vendor associated with the inventory movement from the added vendors—see how to add vendors.
Branch: Choose the branch where the inventory movement is occurring from the added branches—see how to add branches.
Warehouse: Select the warehouse involved in the inventory movement from the added warehouses—see how to add warehouses.
Document Type: Choose the appropriate document type for the inventory movement.
Inventory Movement Number: This will be an auto-generated sequence number (e.g., IMV00001).
Reference: Enter any relevant reference number for the inventory movement.
Inventory Movement Date: Specify the date on which the inventory movement is being recorded.
Item Details: Click or type to select the item involved in the inventory movement—see how to add items.
Quantity: Enter the quantity of the item being moved.
Price: Input the price per unit of the item.
Total: The system will automatically calculate the total based on the quantity and price.
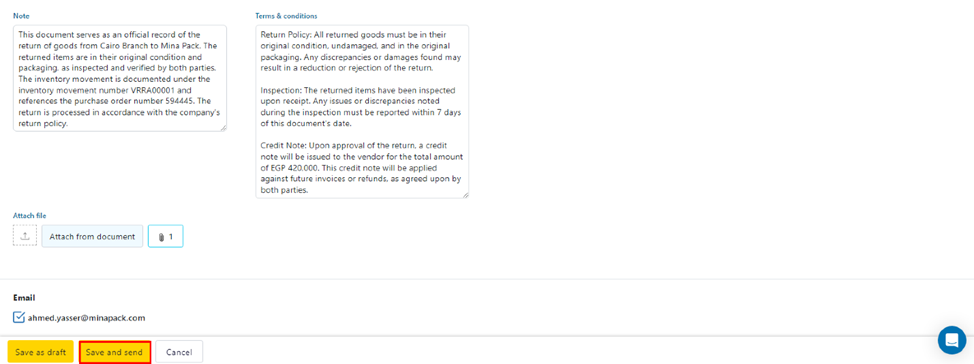
Note: Add any relevant notes regarding the inventory movement.
Terms & Conditions: Include any terms and conditions if applicable.
Attach File: Use this field to attach any relevant documents (e.g., invoice, packing slip).
5. Save the Inventory Movement: You can either save the Sales Order as a draft by clicking "Save as Draft" or save it by clicking "Save."