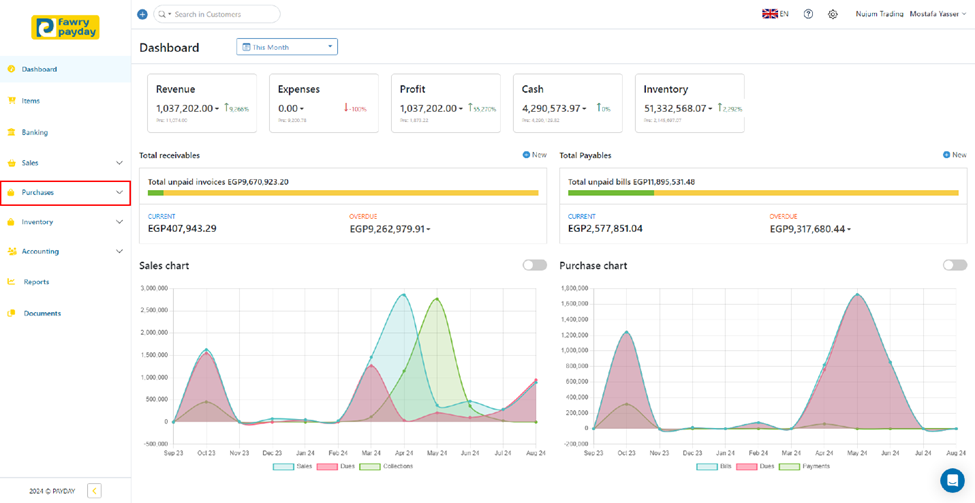
1. From the Main Menu: Click on Purchases
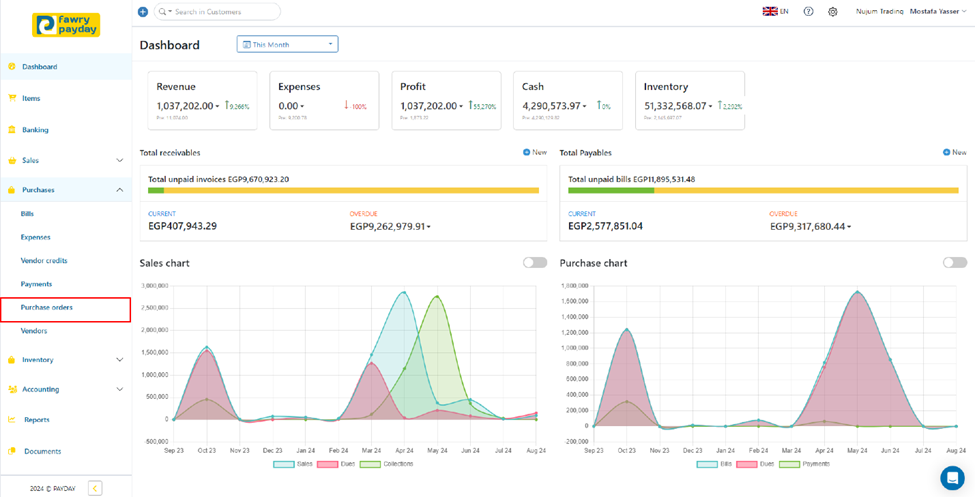
2. Select Purchase Orders.
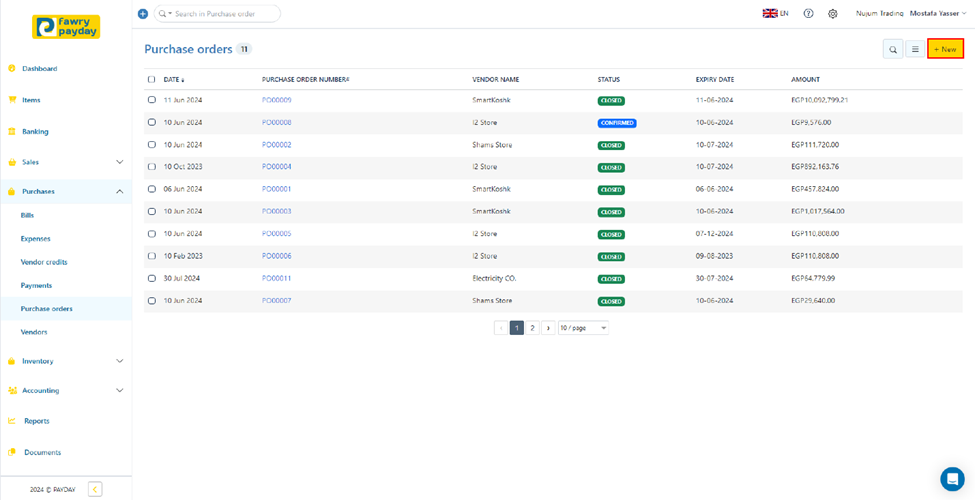
3. To Begin Creating a New Purchase Order: Click on "+New".
4. Fill in the Required Details:
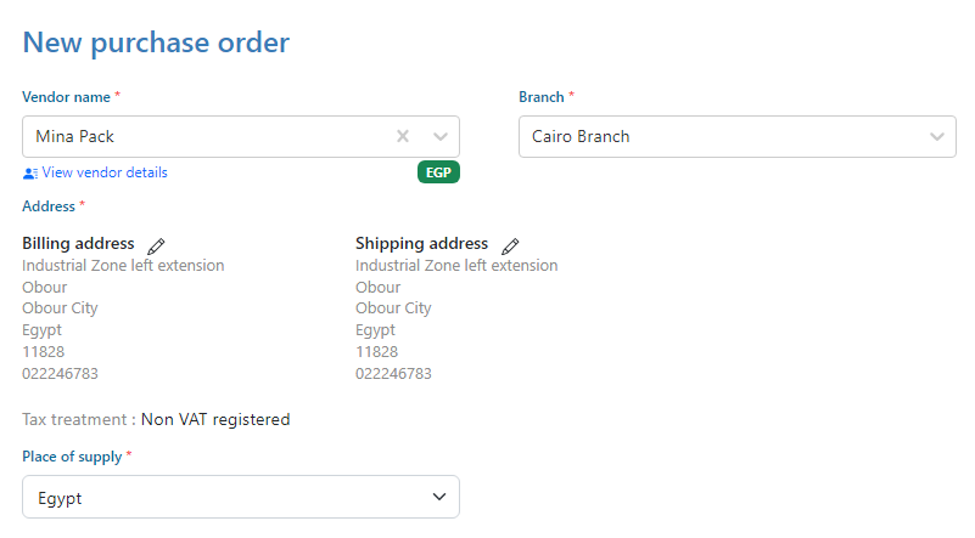
Vendor Name: Select the vendor from the added vendors—see how to add vendors.
Branch: Choose the branch from which the purchase is being made—see how to add branches.
Place of Supply: Specify the location where the goods or services will be supplied
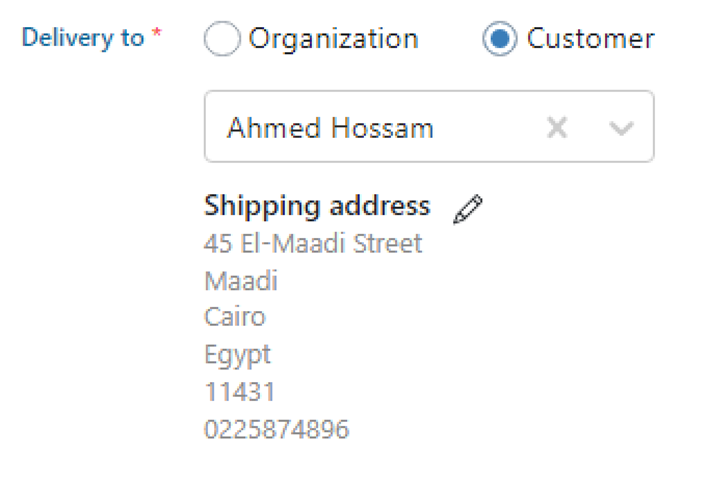
Delivery To: Specify whether the delivery is to an organization or a customer—see how to add a customer.
Shipping Address: Enter the complete shipping address for the delivery.
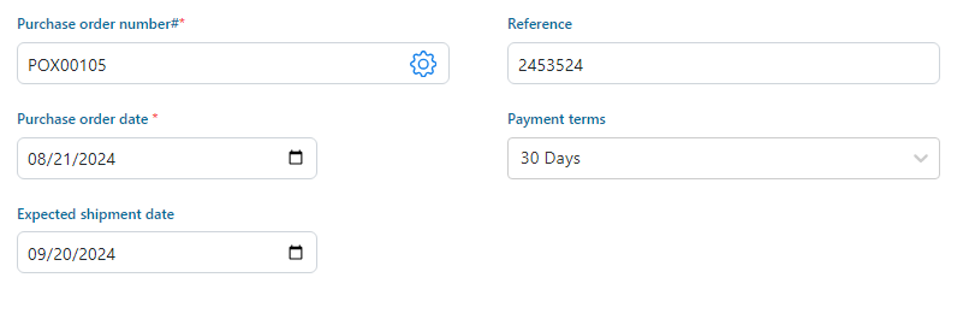
Purchase Order Number: This will be an auto-generated sequence number—see how to create or modify transaction series.
Reference: Enter any reference number related to the purchase order.
Purchase Order Date: Select the date on which the purchase order is created.
Payment Terms: Choose the payment terms for the purchase order (e.g., Cash in Advance).
Expected Shipment Date: Enter the expected date for shipment.
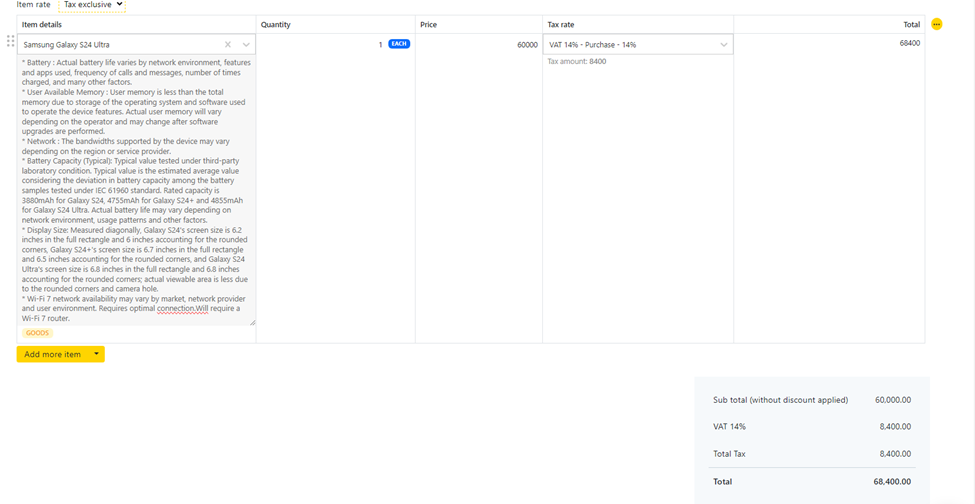
Item Rate: Specify if the item rate is tax exclusive or inclusive.
Item Details: Select an item from the added items and enter the item’s description—how to add an item.
Item Quantity: Enter the item quantity.
Item Pirce: Enter the item price.
Item Tax Rate: Select the item tax rate—how to add a tax rate.
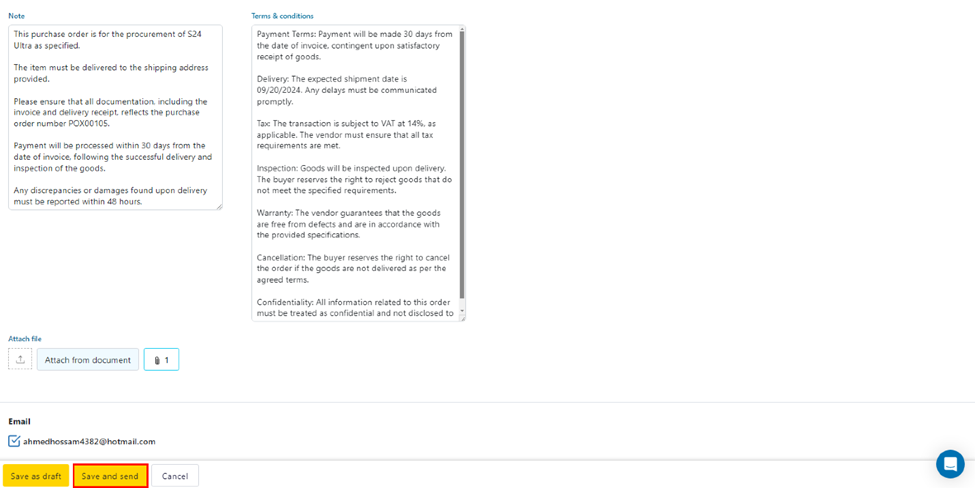
Note: Use this field to write any additional notes or comments.
Payment Terms: Choose the payment terms for the purchase order (e.g., Cash in Advance).
Attach File: Use this field to attach any relevant documents (e.g., a product catalog).
5. Click on Save: You can either save the Purchase Order as a draft by clicking "Save as Draft" or save it by clicking "Save."