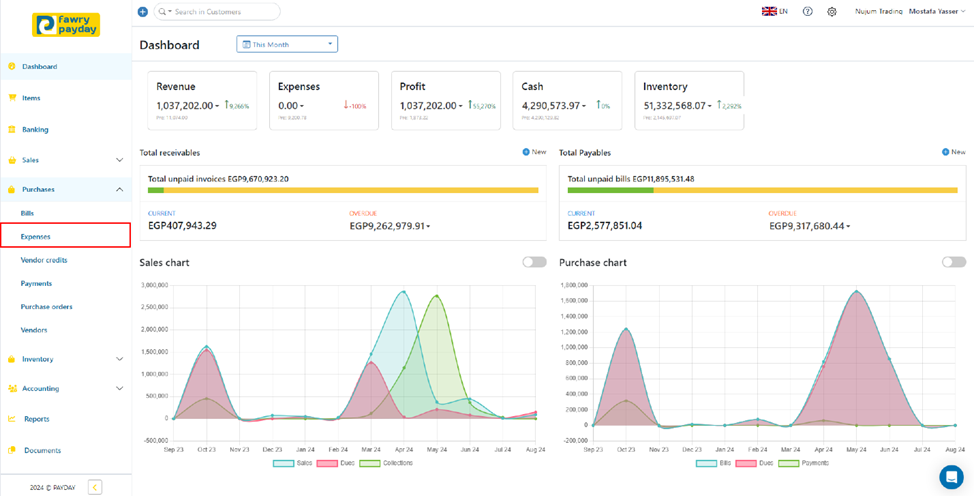
1- From the main menu, click on Purchases.

2- Select Expenses.
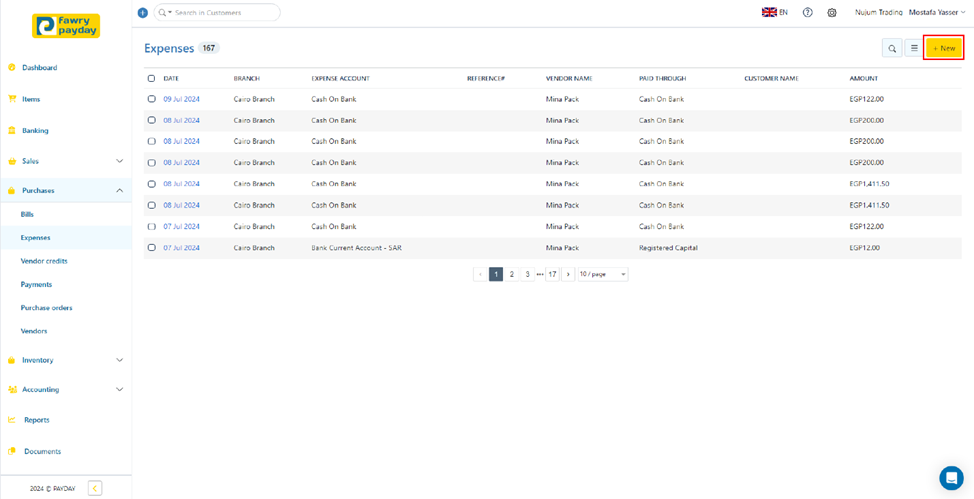
3- To begin adding a new expense, click on "+New".
4- Fill in the Required Details:
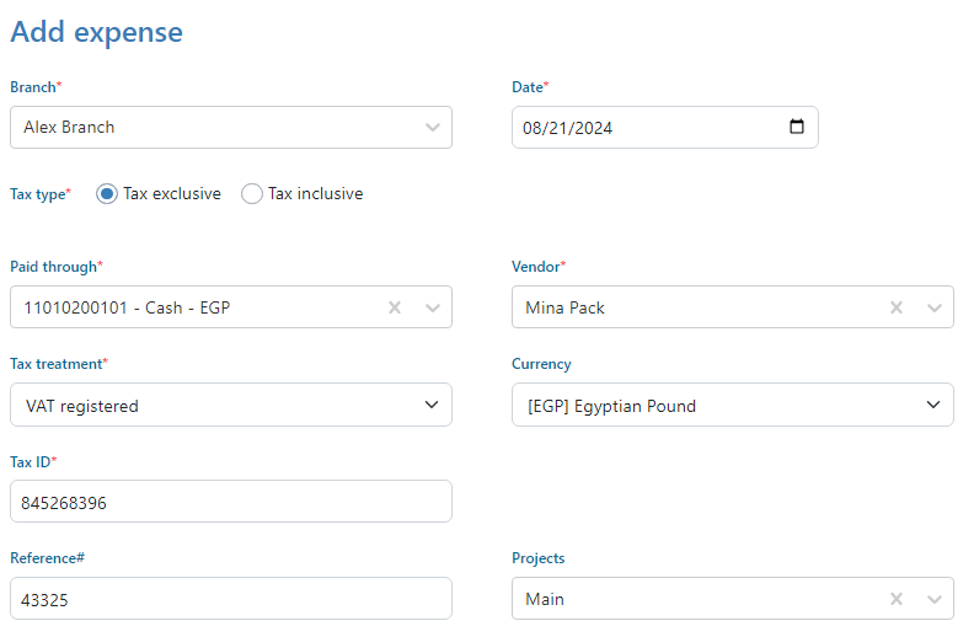
Branch: Select the branch where the expense occurred from the added branches—see how to add branches.
Date: Enter the date on which the expense was incurred.
Tax Type: Choose between Tax Exclusive or Tax Inclusive.
Paid Through: Select the account used for the payment from the added accounts—see how to add accounts.
Vendor: Select the vendor associated with the expense from the added vendors—see how to add vendors.
Tax Treatment: Select the applicable tax treatment for the expense.
Currency: Choose the currency for the expense (e.g., EGP Egyptian Pound) —see how to add currency.
Tax ID: Enter the Tax ID.
Reference: Enter any reference number related to the expense (e.g., invoice number).
Projects: Select the project related to the expense.
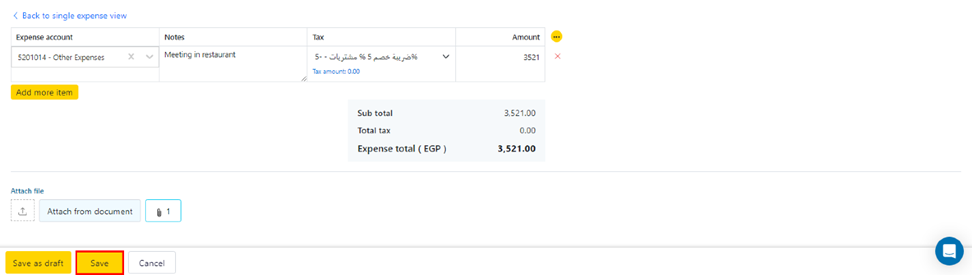
Expense Account: Choose the appropriate account for categorizing the expense from the added accounts—see how to add accounts.
Notes: Use this field to add any internal notes about the expense (max. 500 characters).
Tax: Specify the tax rate and amount if applicable.
Amount: Enter the total amount of the expense.
Attach File: Upload any related attachments
5- Save: You can either save the Expense as a draft by clicking "Save as Draft" or save it by clicking "Save."