1. Navigate to the main menu and click on "Inventory".
2. Select Inventory Documents
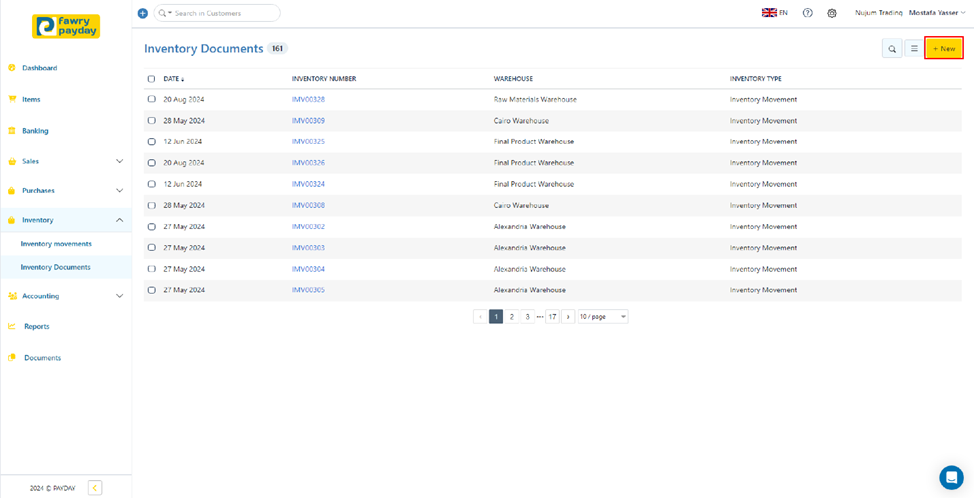
3. Click on "+ New".
4. Select Inventory Movement from the Document Type

5. Fill in the Required Details:
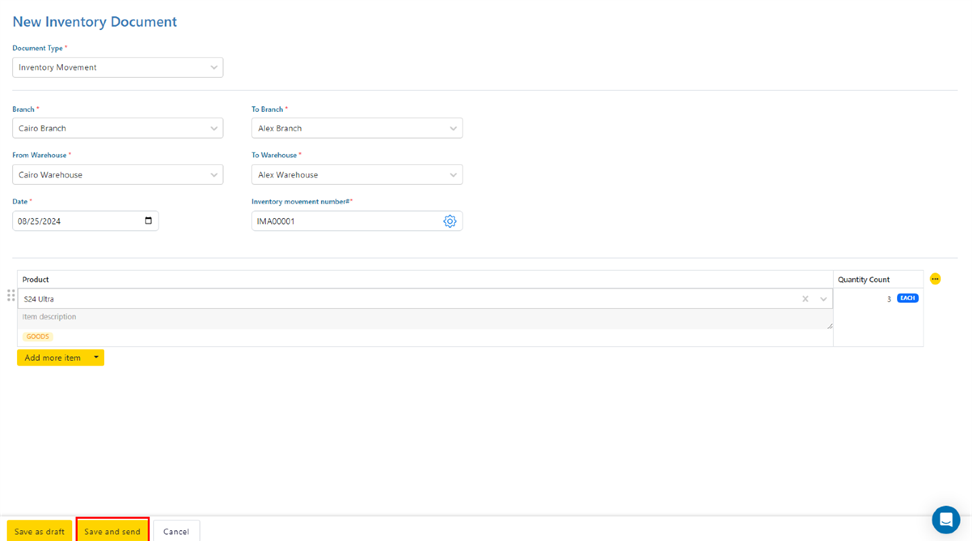
· Branch: Select the source branch—see how to add branches.
· To Branch: Select the destination branch—see how to add branches.
· From Warehouse: Select the warehouse from which the inventory is moving—see how to add warehouses.
· To Warehouse: Select the warehouse where the inventory is being received—see how to add warehouses.
· Date: Enter the date of the inventory movement.
· Inventory Movement Number: This will be auto generated by the system (e.g., IMA00001).
6. Fill in Product Details:
· Product: Select the product being moved—see how to add products.
· Quantity Count: Enter the quantity being moved.
7. Save: You can either save the Inventory document as a draft by clicking "Save as Draft" or save it by clicking "Save."